
When working on small projects, the build and deployment process can be a real motivation killer. To avoid this with a recent project I decided to automate these processes using GitHub Actions.
To follow along you will need a GitHub account to host your app repository and a server (I use DigitalOcean) with SSH access to host your application. I will be using a recent personal project (https://lethbridgewind.com) as an example. It’s a simple Javascript Weather app that contains a .env file detailing OpenWeather API credentials.
Step 1 – Create a new repository in your GitHub. Push your code or clone an existing repository.
Create A Repo
GitHub.com
https://docs.github.com/en/get-started/quickstart/create-a-repo
GitHub.com
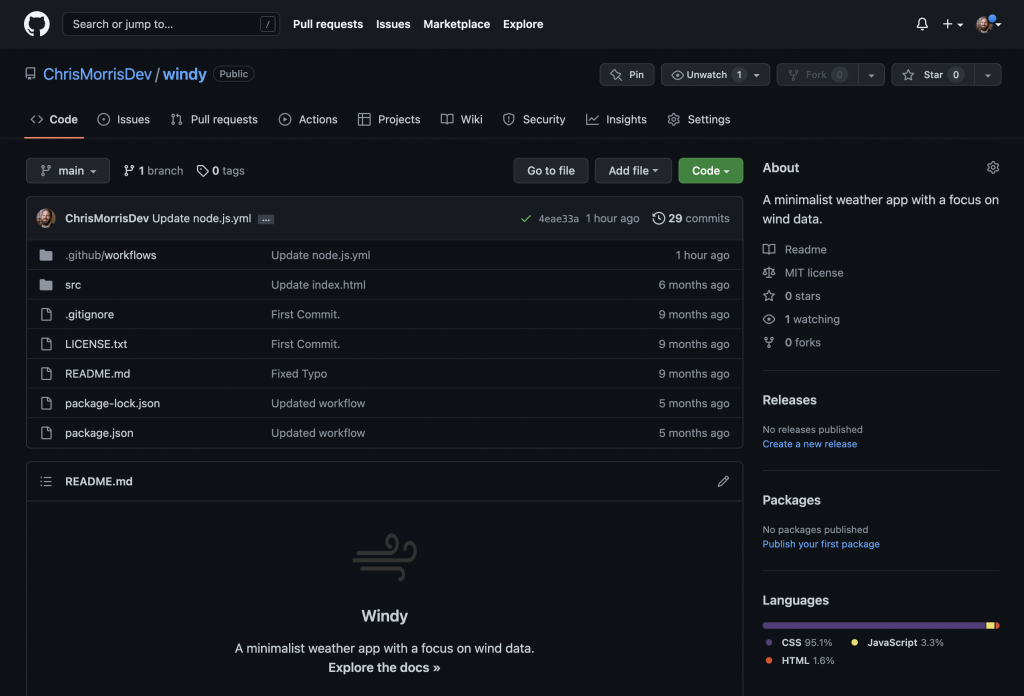
Step 2 – Create a new GitHub Actions Workflow.
- In your repository, create the .github/workflows directory to store your workflow files.
- In the .github/workflows directory, create a new workflow .yml file. In this example, it’s called node.js.yml. This is what will define your build and deployment processes.
Understanding GitHub Actions
GitHub.com
https://docs.github.com/en/actions/learn-github-actions/understanding-github-actions
Step 3 – Generate Server SSH Keys
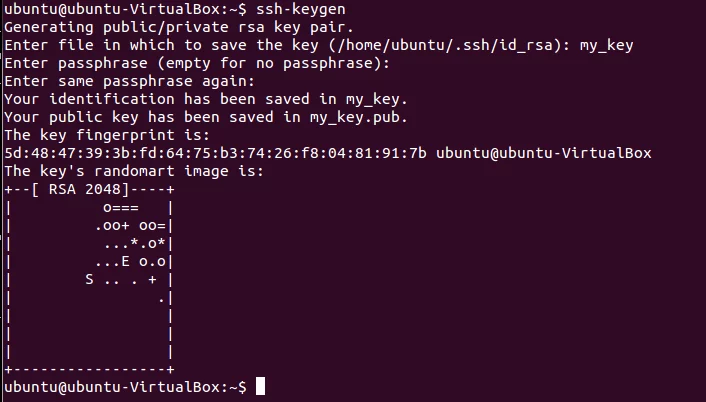
Login to your server, in my case a Digital Ocean Droplet, and generate a public key. We’ll use the ssh-keygen tool to create a new key-pair. Execute ssh-keygen from the command line and follow the prompts. Leave the passphrase empty.
ssh-keygen is a tool for creating new authentication key pairs for SSH. Such key pairs are used for automating logins, single sign-on, and for authenticating hosts.
SSH Academy
This public key is what will allow us to execute ssh commands via GitHub actions. But before we move on to setting up our workflow, we need to copy this key into .ssh/authorized_keys folder to give it permission to execute these tasks.
- Get your public key you just generated in the terminal: cat .ssh/id_rsa.pub
- Edit the authorized_keys: nano .ssh/authorized_keys and copy your public key. Save the file.
- Give authorized_keys correct permissions: chmod 600 .ssh/authorized_keys
Step 4 – Adding GitHub Secrets
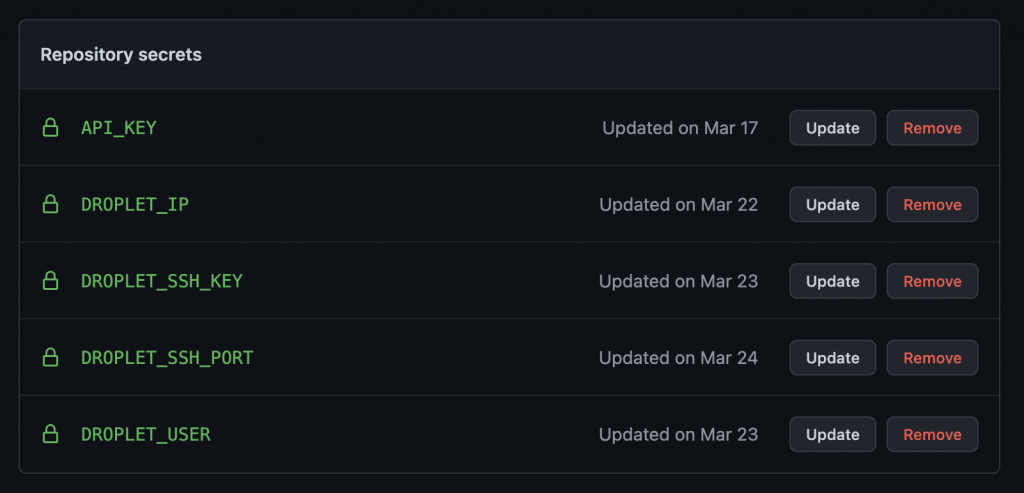
Next we’re going to add a few action secrets so we’re able to push the build files to our server. For my purposes I will need:
- SSH Username. It’s best to create an account specifically for this purpose. Never use root.
- SSH Port
- Server IP Address.
- SSH Key
You can add new action secrets via the “settings” tab on your repositories page. In the sidebar select “Secrets” -> “actions”. Select “New Repository Secret” at the top of the page.

When you’re done adding all your necessary secrets for your repository, it should look something like this:
Step 5 – Configure your Workflow
At this point we’re ready to start configuring our .yml workflow file. Our goal is to complete all of the necessary workflow jobs when triggered by a push to the main branch. Then deploy the build to our server. It’s a good idea to jot down your build process in a list so you can follow along while putting together your .yml workflow. This is what my workflow looks like.
- Checkout the latest from our repo.
- Create an .env file with our secret API key.
- Install the SSH key for secure deployment.
- Add the server IP to the known hosts file in the .ssh directory.
- Install the package dependencies.
- Build the project with Parcel.
- Clear the old files from the public html directory on the server.
- Send the updated build to the server.
# Build & Deploy Lethbridgewind.com
# Author: Chris Morris | chris.morris3@gmail.com
# https://chris-morris.net

name: Node.js CI

on:
  push:
    branches: [ main ]

jobs:
  build:

    # Build it on Ubuntu
runs-on: ubuntu-latest

    # Clean Installation of Node
    strategy:
      matrix:
        node-version: [16.x]
        # See supported Node.js release schedule at https://nodejs.org/en/about/releases/

    steps:
    - uses: actions/checkout@v2
    - name: Use Node.js ${{ matrix.node-version }}
      uses: actions/setup-node@v2
      with:
        node-version: ${{ matrix.node-version }}
        cache: 'npm'

      # Create Environment Variables
      env:
          API_KEY: ${{ secrets.API_KEY }}
          DROPLET_IP: ${{ secrets.DROPLET_IP }}
          DROPLET_SSH_KEY: ${{ secrets.DROPLET_SSH_KEY }}
          DROPLET_USER: ${{ secrets.DROPLET_USER }}

    # Create .env file to store API key
    - name: Make envfile
      uses: SpicyPizza/create-envfile@v1
      with:
        envkey_API_KEY: ${{ secrets.API_KEY }}
        file_name: .env

    # Install SSH Key for secure deployment
    - name: Install SSH Key
      uses: shimataro/ssh-key-action@v2
      with:
        key: ${{ secrets.DROPLET_SSH_KEY }}
        known_hosts: 'just-a-placeholder-so-we-dont-get-errors'

    # Add Known Hosts
    - name: Adding Known Hosts
      run: ssh-keyscan -H ${{ secrets.DROPLET_IP }} >> ~/.ssh/known_hosts

    #Install Dependencies
    - run: npm ci

    # Build with Parcel
    - run: npm run build --if-present

    #clear the contents of public_html/
    - name: Remote SSH Command to clear directory contents
      uses: appleboy/ssh-action@master
      with:
        host: ${{ secrets.DROPLET_IP }}
        username: ${{ secrets.DROPLET_USER }}
        key: ${{ secrets.DROPLET_SSH_KEY }}
        port: ${{ secrets.DROPLET_SSH_PORT }}
        script: rm -R /var/www/lethbridgewind.com/public_html/*

    # Deploy to server
    - name: Deploy Files to DO
      run: rsync -a ./dist/ ${{ secrets.DROPLET_USER }}@${{ secrets.DROPLET_IP }}:/var/www/lethbridgewind.com/public_html/
Step 6 – Confirming Your Action Workflows Success
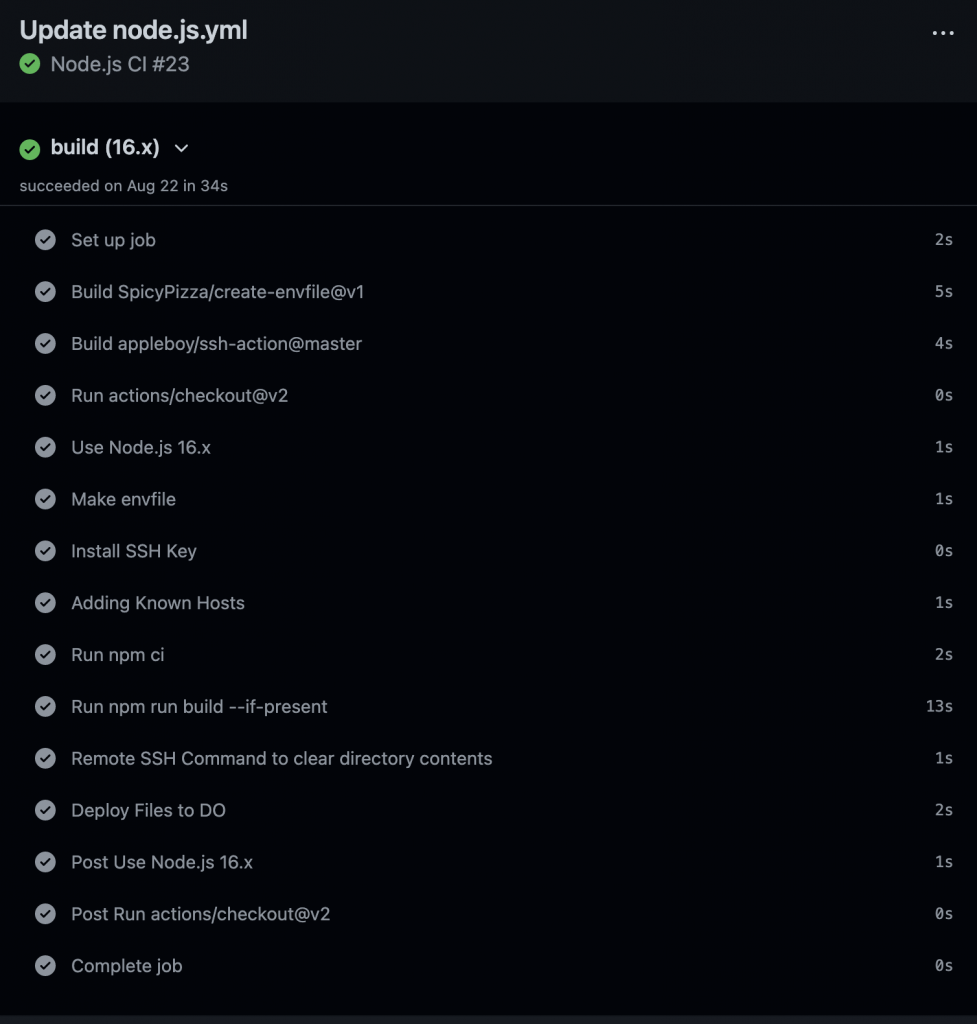
With the action workflow properly configured for your project, your next push to the main branch in your github repo will trigger the build and deploy process. You can view your current workflow run and previous runs from the Actions tab in your repos main navigation.
If there were issues with your workflow, this is where you will find the errors to help in your troubleshooting. Each job in your workflow has a separate defined runtime and will offer output (warnings or errors) when necessary.
If your workflow is successful you should now see your updated build files in your server destination.
Conclusion
When working on a side-project or something just for fun, I want it to be as easy as possible to get from point A to point B. A quick GitHub Actions workflow can save you an immense amount of time building and deploying your code. You will also be less prone to the mistakes that can happen with repetitive, monotonous tasks. Give it a try with your next project!
Check out the GitHub Actions docs here.